Let me explain to you how to apply eyeliner. When we talk about eye makeup, eyeliner is the game changer. A single stroke can change your eyes from simple to elegant. Whether you’re heading for work, a day out, or a party, if you know how to apply proper eyeliner, then you are all set.
Applying eyeliner can completely change your look—whether you want to keep it soft and natural or bold and dramatic. But for many beginners, mastering the perfect line without smudging feels like rocket science. The truth is, eyeliner application becomes effortless with the right technique and practice. But if you are a beginner, learning to apply eyeliner can feel tricky. Shivering hands, uneven wings, and smudges are every person new to eyeliner’s nightmare! Don’t worry—I have got solutions for you. In this step-by-step guide, you will learn how to apply eyeliner like a pro, along with some picture ideas to understand the process better.
Why Eyeliner Matters in Makeup steps
Before you start drawing your perfect line, you need to choose the right eyeliner. Different eyeliners create different looks and have unique application methods. Eyeliner raises your eye shape, makes your lashes look fuller, and gives your makeup a beautiful finish. Different eyeliner styles can change your full look:
Thin line: Soft and natural
Bold line: Dramatic and defined
Winged liner: Flirty and eye-catching
Smudged liner: Smoky
Once you understand the basics, you can create a lot of styles!
Step-by-Step Guide to Applying Eyeliner
Whether you’re using a pencil, gel, or liquid liner, these steps will help you achieve a neat and beautiful look.
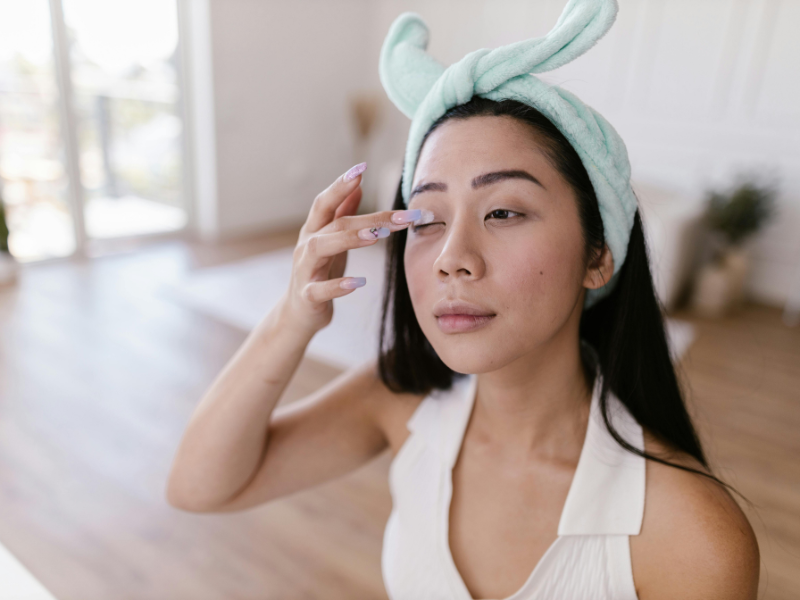
Step 1: Prepare Your Eyes
Before applying eyeliner, make sure your eyelids are clean and oil-free.
Wash your face and make it dry.
Apply an eye primer or a little bit of concealer to create a smooth base.
Set with a light dusting powder to avoid smudging.
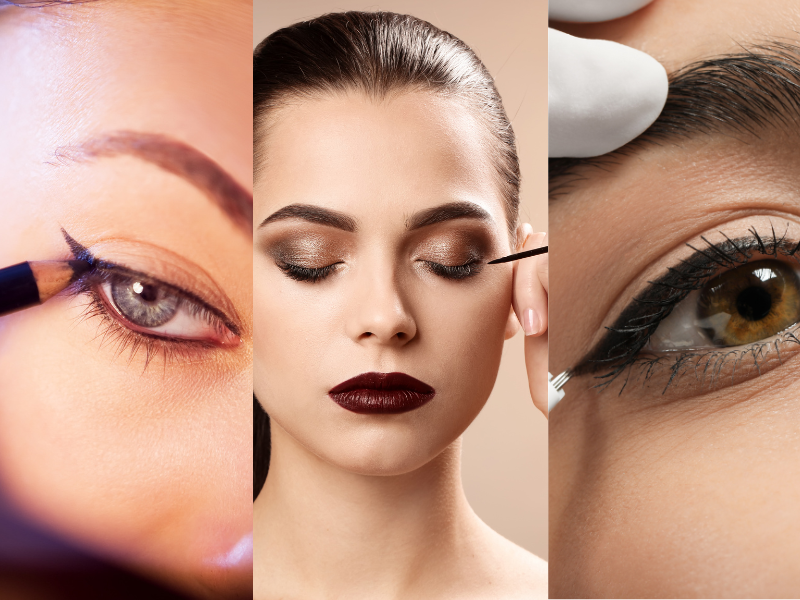
Step 2: Choose the Right Eyeliner
There are different types of eyeliners, and choosing the right one depends on your comfort and the look you want:
Pencil Eyeliner
- It is Best for beginners.
- It is easy to control and gives a subtle look.
· Liquid Eyeliner
- It is perfect for sharp and straight lines.
- It is best for winged eyeliner looks.
· Gel Eyeliner
- It is smooth and long-lasting.
- It is great for dramatic and bold styles.
Step 3: Start with Small Strokes
Instead of trying to draw one long line, break it down into small strokes.
- Begin from the inner corner of the eye.
- Gently move towards the outer corner, making short dashes like lines.
- Connect all dashes to create a smooth line.
This technique gives you better look and prevents shaky lines.
Step 4: Work Near the Lash Line
For a natural and clean look, keep the eyeliner as close to the lash line as possible.
- Gently lift your eyelid and apply the liner.
- Avoid leaving gaps in between the liner and lashes.
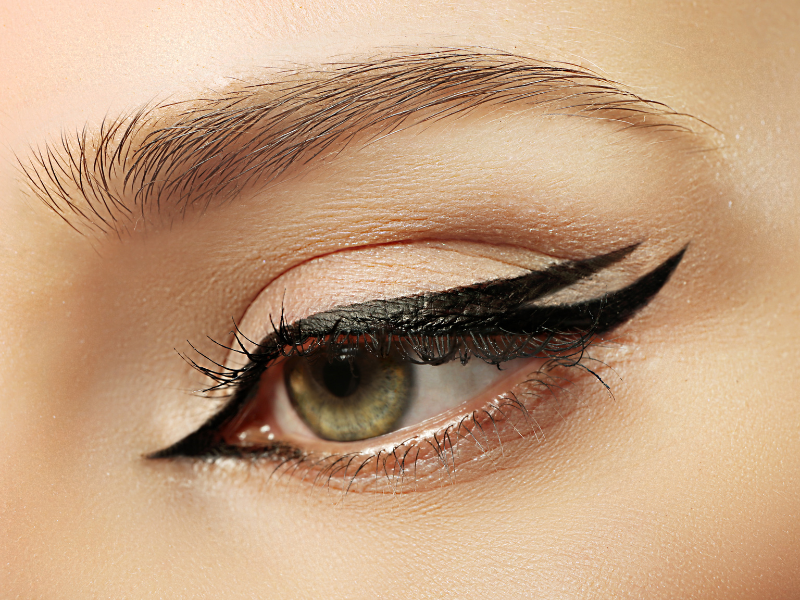
Step 5: Create the Perfect Wing if you want
If you want a winged eyeliner look, follow these steps:
- Draw a small line from the outer corner of your eye towards the end of your eyebrow.
- Connect the tip of this line back to your lash line to form a triangle shape.
- Fill in the triangle with eyeliner for a small wing.
Step 6: Fix Mistakes Like a Pro
Do not stress out if your liner is not perfect—even people with perfection make mistakes!
- Dip a cotton ball in makeup remover to clean the corners.
- Use concealer under the wing to sharpen the look.
Step 7: Apply Mascara to Complete the Look
Once your eyeliner is perfect done:
- Curl your lashes.
- Apply one or two coats of mascara to sharpen the look of your eyes.
Your eyeliner is now complete and subtle.
Beginner-Friendly Eyeliner Tips
Here are some hacks for you to apply eyeliner easier and faster:
- Use Tape for Wings: Paste a small piece of scotch tape at the end of the eye to guide your wing.
- Start Thin: You can always thicken the line, but it is very hard to make a thick line thin.
- Choose the Right Way: Gel liners are less messy than liquid ones for practicing.
- Practice Daily: The more you practice, the more perfect your hand becomes.
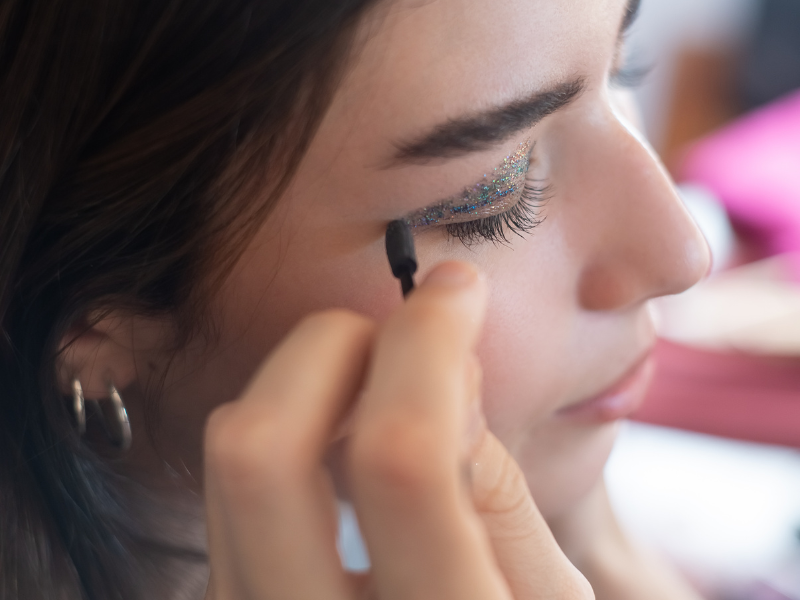
Different Eyeliner Styles to Try
Once you have properly learnt the basics, you can try these popular styles:
- Classic Line—A thin line on the upper lash line.
- Winged Liner—Increase outward for an elegant look.
- Double-Winged Liner—Adds a second line below the wing.
- Smokey Liner—Smudged for a dramatic effect.
- Graphic Liner—Creative shapes for bold makeup looks.
Common Eyeliner Mistakes to Avoid
- Pulling your eyelid too hard: Can make lines uneven.
- Not letting it dry: Liquid liner can spread to your lid.
- Skipping primer: it can lead to smudging and fading.
- Ignoring your eye shape: Each style suits different eyes—Try to see what works best.
Final Thoughts on how to Be an Eyeliner Pro
Applying eyeliner in the perfect way takes patience and practice, but once you know how to apply it, it will become so easy for you. Start with simple looks, practice small strokes, and move to wings and bold styles step by step. Remember, makeup is an art and expression of yourself—so have fun, experiment, and create looks that make you feel confident and beautiful. With the right tools, techniques, and a little practice, you will be an eyeliner pro in no time!