How to Clean Makeup Brushes and Sponges?Have you noticed your foundation looking patchy, your eye looking smudged, or your skin breaking out more than ever? Your makeup tools should be blamed more than your products? Dirty makeup brushes and sponges produce bacteria, leftover pigments, skin oils, and dust, which can all create a mess, not just on your makeup results, but on your skin’s health. Dirty tools don’t work as well—a clean brush delivers smooth and beautiful makeup.
But you don’t have to think much to master makeup hygiene. This blog breaks down everything you need to know about how to clean your makeup brushes and sponges the easy, effective way. Get ready for better makeup application, glowing skin, and tools that last much longer!
Why You Need to Clean Your Brushes and Sponges (Yes, regularly!)
Let’s think for real: we all think of skipping cleaning, especially when life gets busy. But dirty brushes are more than just what we think—here’s why consistent cleaning is a must:
Prevents Breakouts: Brushes and sponges collect oil, dead skin, and bacteria, all of which can transfer directly to your face.
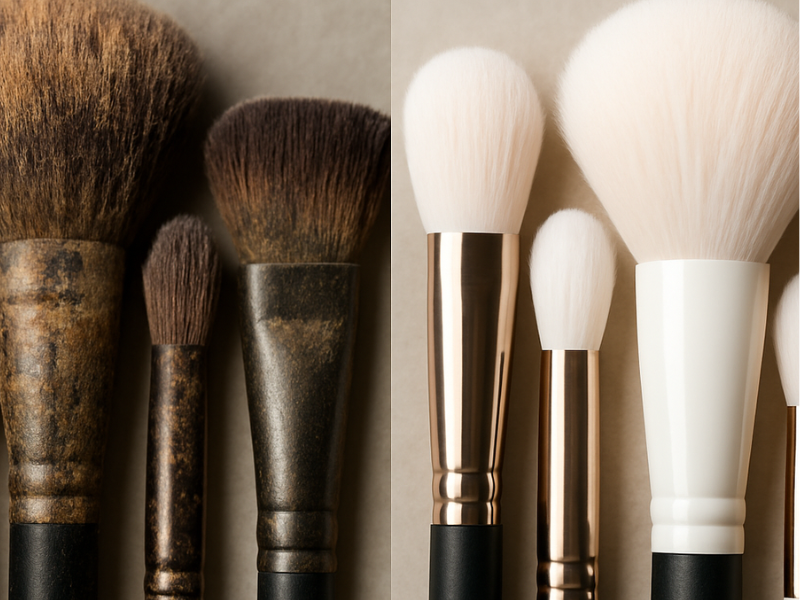
Protects Your Investment: Clean tools last longer. Harsh buildup can break bristle fibers and degrade sponges, so you have to spend more on the products.
Better Makeup Application: Clean tools distribute product evenly, giving a smoother, more flawless look.
Prevents Infections: Eye infections like styes or even more serious problems can be connected to dirty tools.
In short, if you want the best results (and good skin), you need to make brush cleaning a daily habit.
How Often Should You Clean Brushes and Sponges?
Foundation and Concealer Brushes/Sponges: At least once a week.
Eye Brushes: Once a week, if you use them daily; more regularly if you use cream products.
Powder, Blush, and Contour Brushes: Every 1–2 weeks.
Sponges (e.g., Beauty Blender): After every use, if it is possible, or at least 2–3 times a week.
Of course, if you have sensitive skin or acne-prone skin, then washing your brushes regularly is good.
What You Will Need: Cleaning Essentials
You don’t need fancy things—basic household products are very effective:
Gentle dish soap or baby shampoo (great for removing down oil)
Olive oil or coconut oil (only for deep-cleaning natural hair brushes)
Solid brush cleanser (optional, but good!)
A textured cleaning mat/pad (optional, speed things up)
Small bowl or cup
Clean towel or paper towels
Step-by-Step: How to Clean Makeup Brushes
1. Pretreat Stubborn Brushes
If your brush is covered in dried foundation or cream, clean it with a little olive oil or coconut oil first. Massage it, then rinse.
2. Lightly Wet the Brush
Hold the brush with bristles pointing down. A little bit wet, only the bristle part with lukewarm water. Avoid where the metal part meets the handle—too much water can loosen the glue.
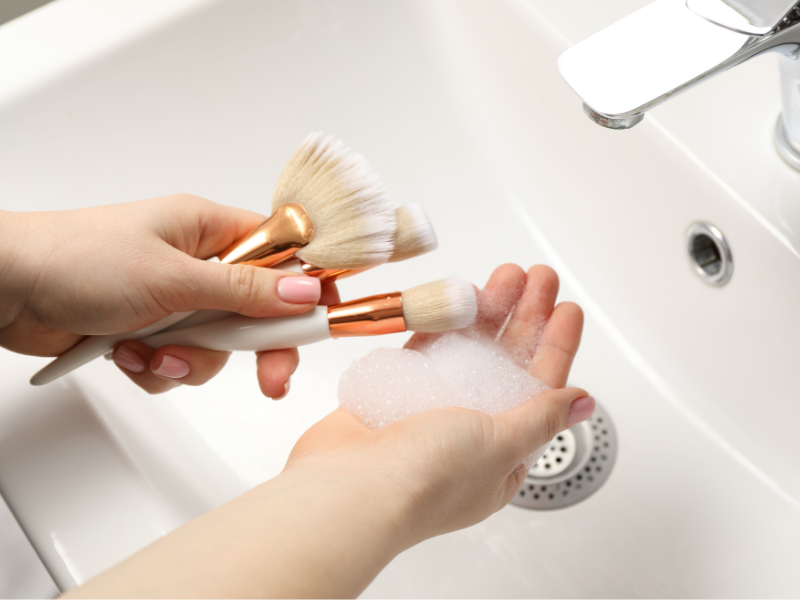
3. Lather Up: Cleanse Thoroughly
Squeeze a little gentle shampoo or soap into your hand or on a textured cleaning mat. Circle the wet brush until you get a nice lather. For eye or lip brushes, repeat until no color comes out.
4. Rinse Well
Rinse the bristles under cool or lukewarm water, gently squeezing until the water comes out clear. If you see more color, repeat lathering and rinsing.
5. Gently Reshape and Remove Excess Water
Press out excess water with a towel, and use your fingers to softly reshape the bristles.
6. Air Dry Correctly
Put brushes on a towel, and let the brush bristles stick out over the edge of the table. Never stand them straight—water can go into the handle and cause the glue to break down.
Step-by-Step: How to Clean Makeup Sponges
1. Wet Thoroughly
Soak the sponge with warm water until fully saturated.
2. Lather Up
Apply a drop of liquid soap or gentle cleanser directly onto the dirty sponge. Squeeze repeatedly to make up a lather—don’t be gentle! You’ll see makeup will start to come out.
3. Rinse and Repeat
Hold the sponge under the tap and keep squeezing it until the water comes out clean. This may take a few minutes for heavy buildup.
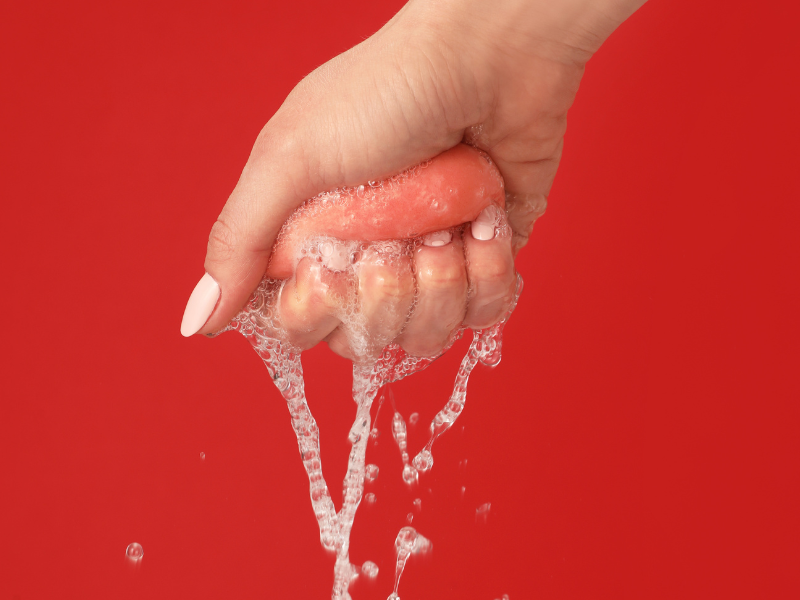
4. Squeeze and Dry
Gently squeeze out as much water as possible with your hands, then dab with a towel. Leave the sponge in a well-ventilated area to air dry properly before reusing.
Quick Cleaning vs. Deep Cleaning
Sometimes you need your tools right away. For a quick clean:
For brushes: Spritz brush cleaner or isopropyl alcohol onto a paper towel. Circle the brush and let it air dry (alcohol dries super-fast).
For sponges, fast cleaning is not as effective. If you want, you can rinse in very warm water with a drop of soap and microwave damp (not dry!) for 30 seconds to sanitize, but replace sponges often. Still, make time for deep cleaning when possible!
Common Brush Cleaning Mistakes to Avoid
Soaking Handles: If you soak the whole brush, it can make the glue weak, and the handle can get damaged.
Using Hot Water: This can melt glue, damaging your brush.
Harsh Cleaners: Avoid household cleaners like bleach or rough detergents—they damage bristles and irritate skin.
Drying Upright: Water seeps into the handle and damages the brush.
Sharing Tools: Even clean tools can transfer bacteria—keep your tools to yourself!
The Payoff: Healthy, Glowing Skin and Gorgeous Makeup
Regular cleaning will surprise you, beyond just hygiene. Your makeup will look fresher. Your skin will feel clean. You’ll go longer between breakouts, and best of all, your brushes and sponges will pay you back by lasting much longer.
Make it a routine. Try to make it a habit orpart of your Sunday ritual. After a few weeks, you might even find cleaning your brushes satisfying.
Final Thoughts—How Useful It Is to clean your makeup brushes
Taking good care of your makeup brushes and sponges does not need to be a complicated or expensive process. A little care and a few minutes every week make a big difference in your makeup results—and will probably keep your skin healthier. So, as you put away your palette tonight, give those brushes a little cleaning. Your face (and your wallet) will thank you! Now, let your fresh, clean brushes work their magic—your future selfies will say it all!